Note: Hover your mouse over any slide to pause it 🙂
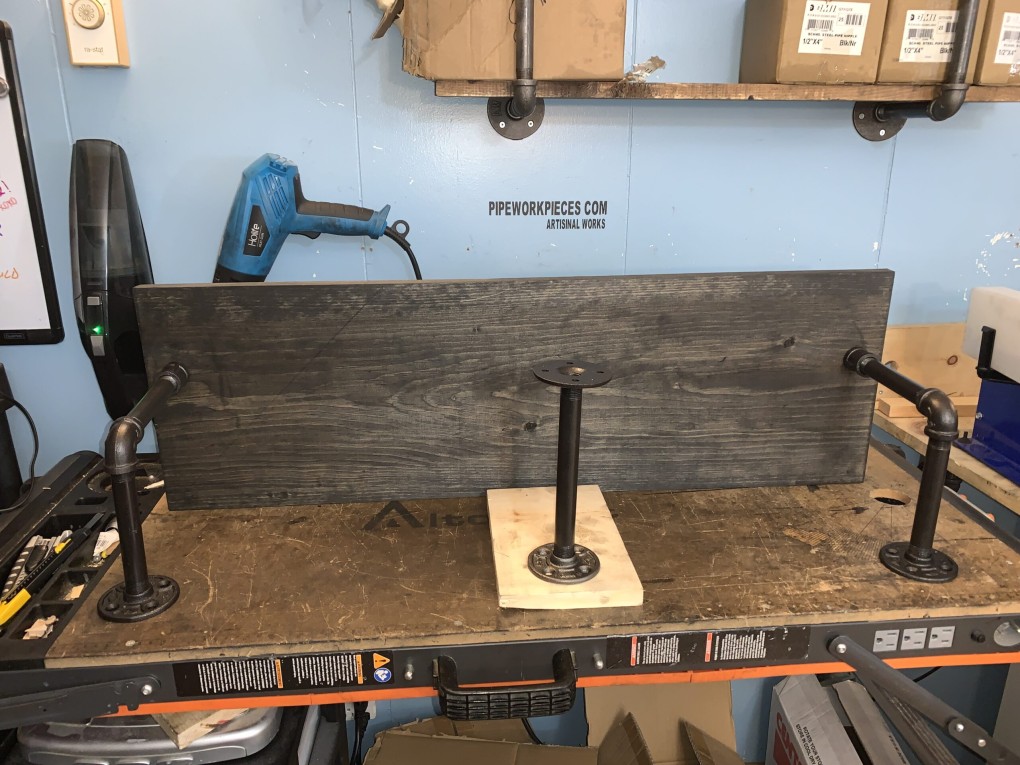
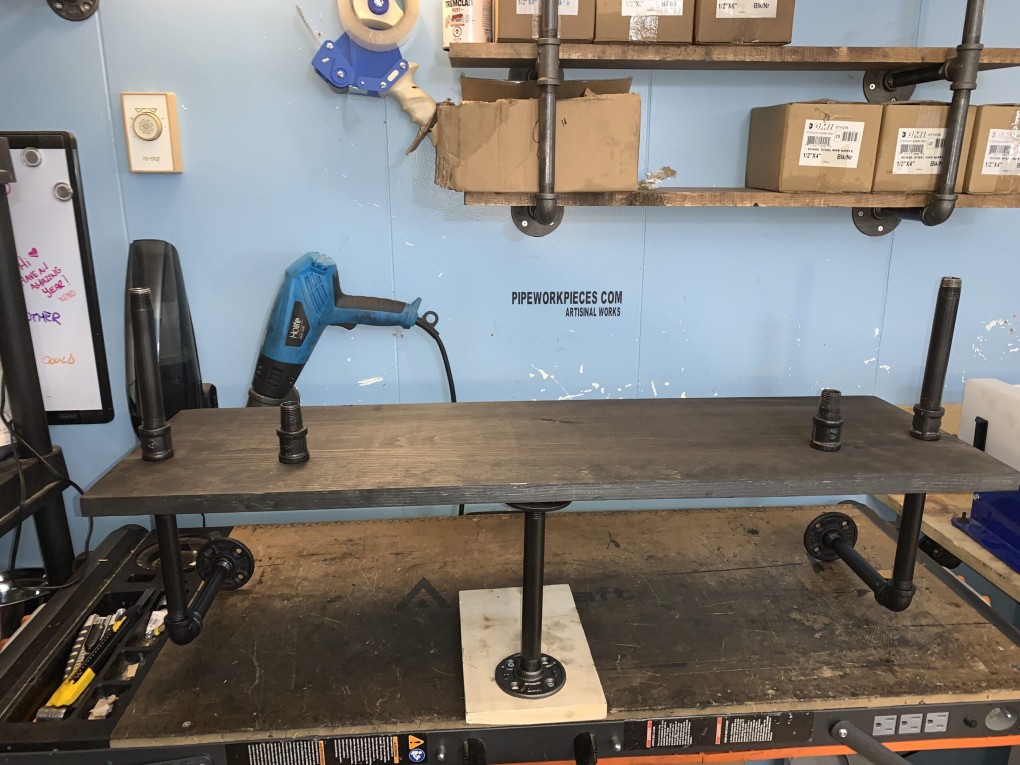
Step 1 - layout 2 bottom supports and the temporary stand on a table.
Step 2 - insert the bottom supports into the holes making sure the tape with the arrow is at the far left on top and facing you.
Step 3 - Flip over the bottom and rest it on the temporary support provided.
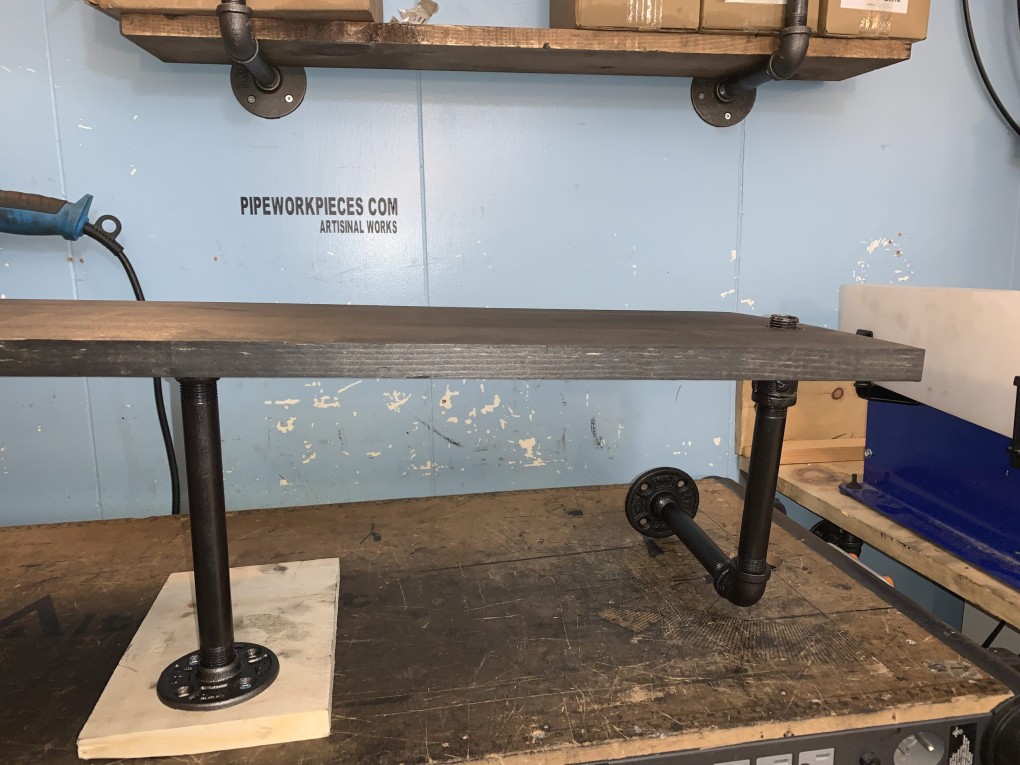
Step 4 - lock in the board with the coupling and 6" nipple
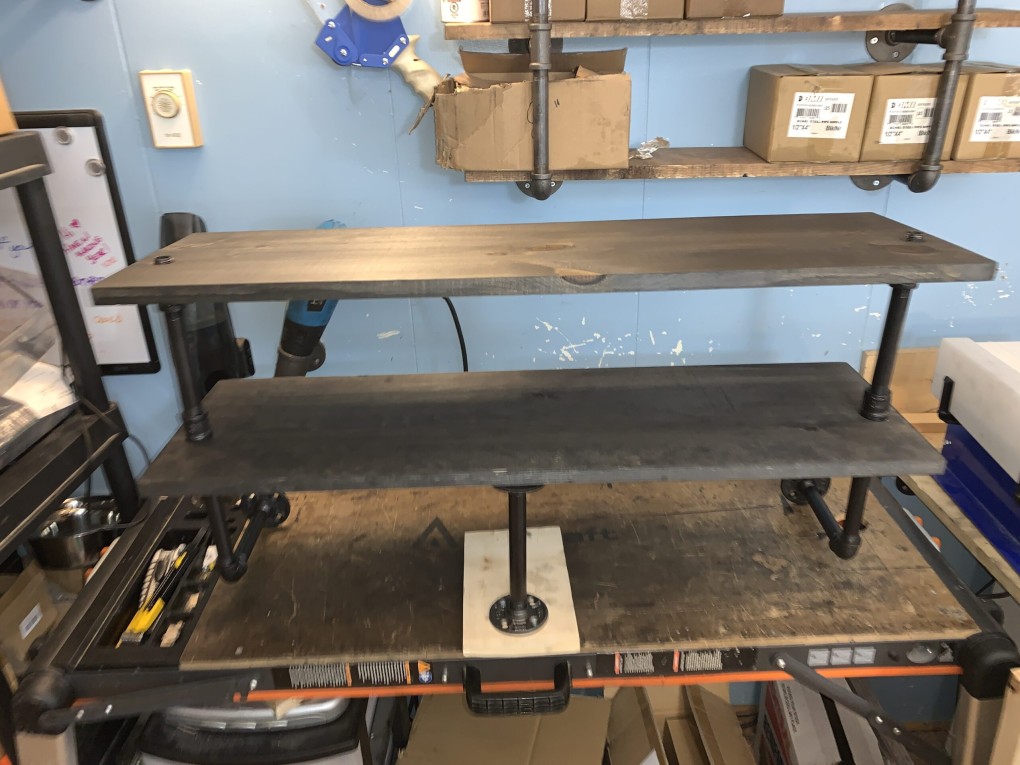
Step 5 - add a coupling with the short nipple inside to the top of the 6" nipple on each side.
Step 6 - Insert the next board.
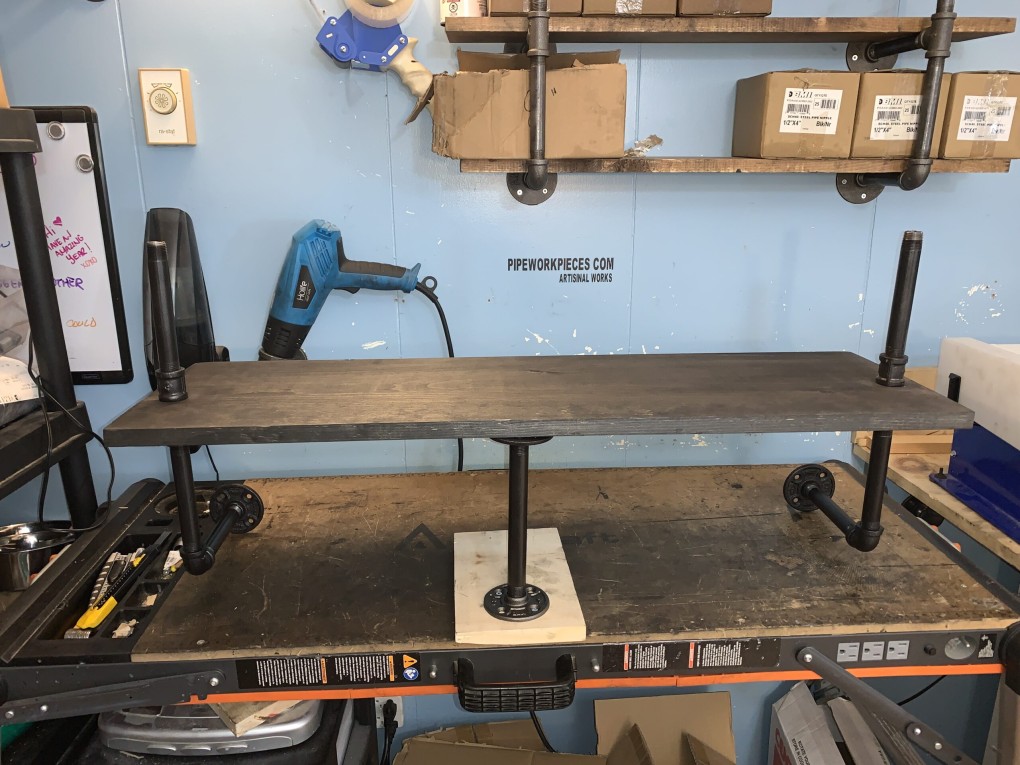
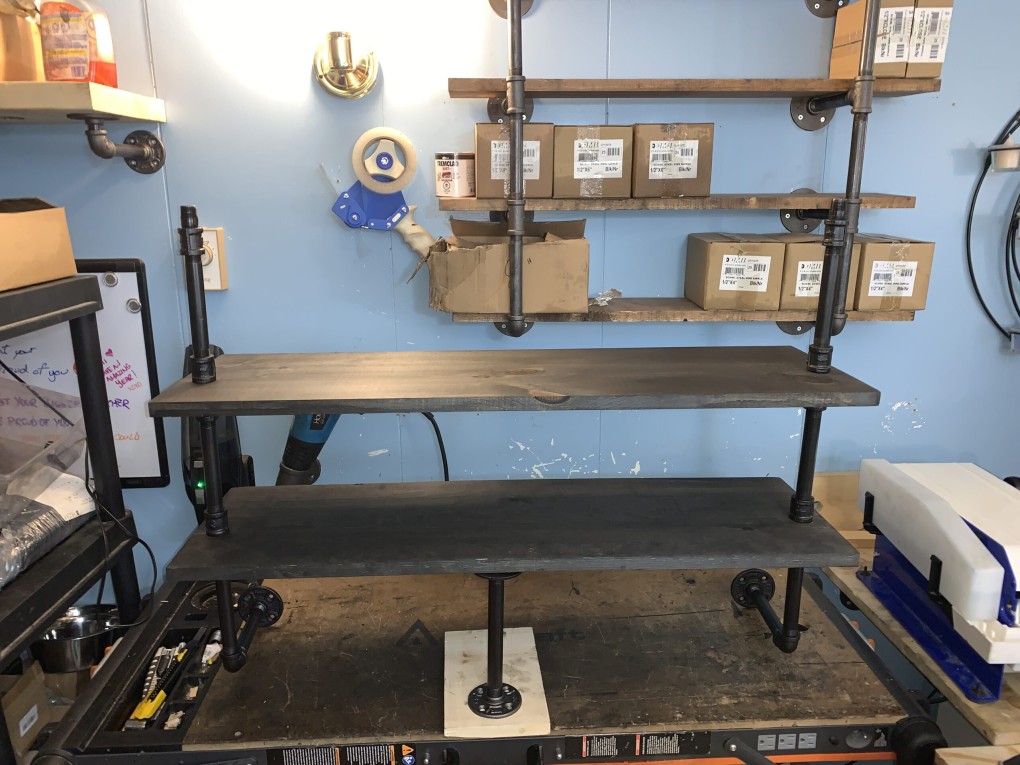
Step 7 - repeat step 4 ,5 and 6 until the last tier is in place.
Note : after about 3 or 4 tiers it might be easier to move the piece and finish the assembly on the floor 🙂
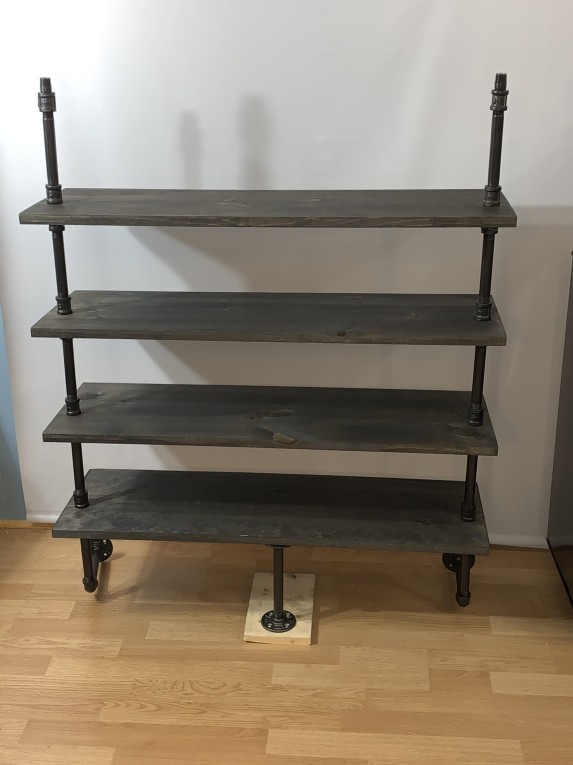
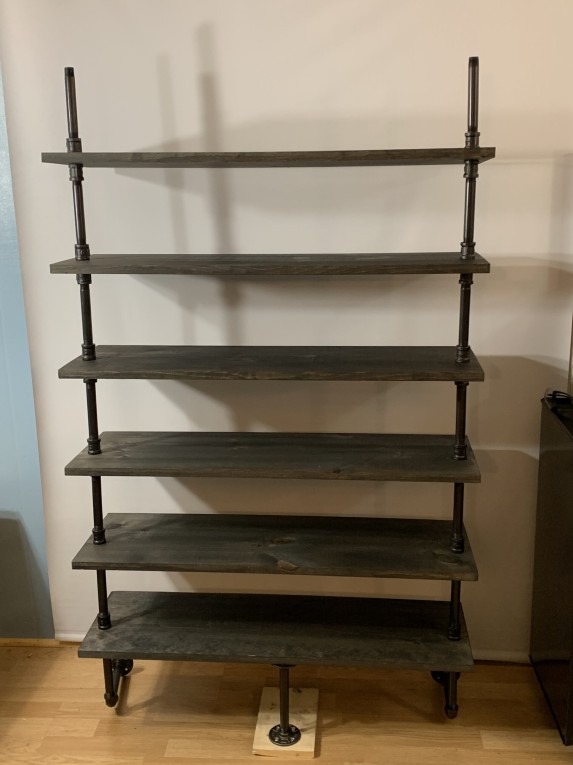
continue final assembly once piece is resting on temporary support on the floor.
continued assembly.
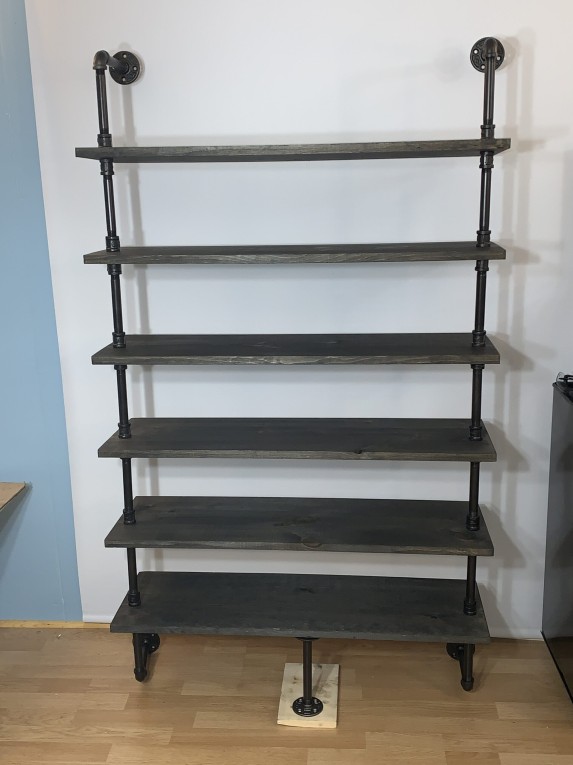
Final step - insert 2 90 degree fittings and the flange .
Note: Please have a helper to mount it on the wall 🙂